Why create a gravel base for a shed?
You might be tempted to just set up a shed right on top of your lawn — and just let the grass die under it. I recommend that you don’t do that. Grass under and next to your shed will retain moisture, cause early rotting, and decrease the life of the bottom of the shed. Trying to use a mower or weed whacker next to your shed can damage it too. And trying to water a lawn right next to your shed will definitely damage your shed prematurely. There are a few ways to approach the base of a shed, but my preferred balance between economical pricing and quality is to just do a simple compacted gravel base.
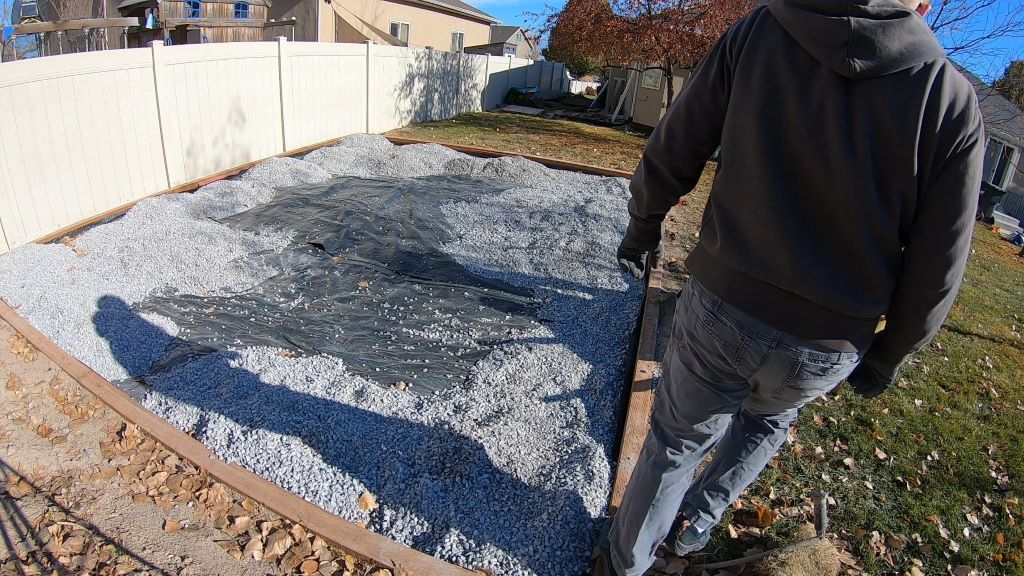
Overview of steps for creating a gravel shed base:
- Dig out grass/organic material
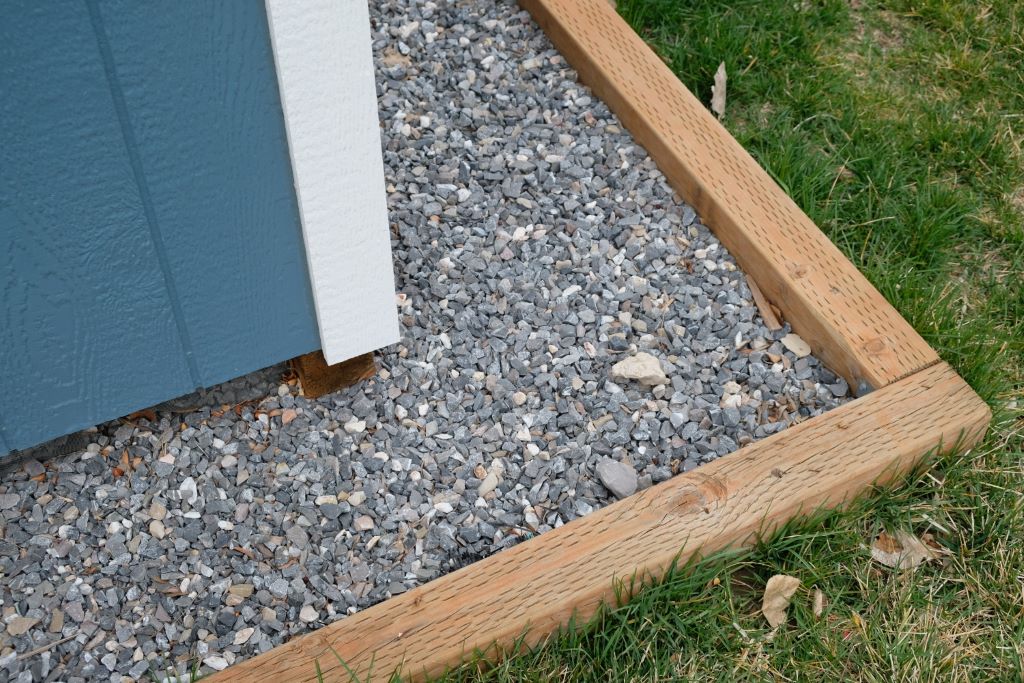
- Use “4 x 6” (really, 3.5” x 5.5”) pressure-treated wood beams for the perimeter, leveled and dug into the ground
- Dig out the dirt inside to level with the bottom of the wood
- Geotextile fabric on the dirt
- Fill with 3/4” gravel
- Compact the gravel
Shed base gravel ordering – Numbers & measurements (How much gravel do I need?):
Of course, there’s no exact measurement your gravel base has to be, but your gravel should probably at least extend far enough away from the shed base so that the dripping water from the roof drips on the gravel and not outside of your gravel box. I recommend doing your gravel base about 4’ longer than your shed dimensions (2’ on each side – so a 12 x 16’ shed would have a 16’ x 20’ gravel base).
Whatever you decide, of course the measurements will impact the amount of gravel you need to get. Here’s a table with calculations for your gravel-ordering needs. Note that you need to order “Crushed” gravel — not smooth stones. This table shows what volume (cubic yards) of gravel would fill your 4×6 gravel frames of various dimensions.
(For those of you who are checking my math, I’ve removed 3.5″ from each side for overlaps. There are different ways to do the overlaps of the border wood, but the end result differences are negligible and the places you’re ordering gravel from are not measuring it that precisely anyway — and may laugh at you if you give them hundredths of cubic feet measurements)
(If you’re on mobile, turn your phone sideways/landscape — It looks messy on a normal phone screen)
| Lengths | 8′ | 10′ | 12′ | 14′ | 16′ | 18′ | 20′ | 22′ | 24′ |
|---|---|---|---|---|---|---|---|---|---|
| 8’ | 1.01 | 1.27 | 1.53 | 1.79 | 2.06 | 2.32 | 2.58 | 2.84 | 3.10 |
| 10’ | 1.27 | 1.60 | 1.93 | 2.26 | 2.59 | 2.92 | 3.25 | 3.58 | 3.91 |
| 12’ | 1.53 | 1.93 | 2.33 | 2.72 | 3.12 | 3.52 | 3.92 | 4.31 | 4.71 |
| 14’ | 1.79 | 2.26 | 2.72 | 3.19 | 3.66 | 4.12 | 4.59 | 5.05 | 5.52 |
| 16’ | 2.06 | 2.59 | 3.12 | 3.66 | 4.19 | 4.72 | 5.26 | 5.79 | 6.32 |
| 18’ | 2.32 | 2.92 | 3.52 | 4.12 | 4.72 | 5.32 | 5.92 | 6.53 | 7.13 |
| 20’ | 2.58 | 3.25 | 3.92 | 4.59 | 5.26 | 5.92 | 6.59 | 7.26 | 7.93 |
| 22’ | 2.84 | 3.58 | 4.31 | 5.05 | 5.79 | 6.53 | 7.26 | 8.00 | 8.74 |
| 24’ | 3.10 | 3.91 | 4.71 | 5.52 | 6.32 | 7.13 | 7.93 | 8.74 | 9.54 |
Steps to create a gravel shed base:
Note: These plans assume a flat or almost flat piece of land to work with.
- Dig out all grass/organic material. A sod cutter can be helpful if applicable.
- Use “4 x 6” (really, 3.5” x 5.5”) pressure-treated wood beams for the perimeter, leveled and dug into the ground so the top of the beams are near the top of the lawn or dirt around the outside (as you are able given your own yard slope conditions).
- You may find it helpful to connect the beams together on the sides and corners so it’s easier to keep them aligned and level.
- Strategically placed temporary screws can also be handy for attaching a string for a line level.
- Note: If you cut pressure treated wood, you should seal the cut end.
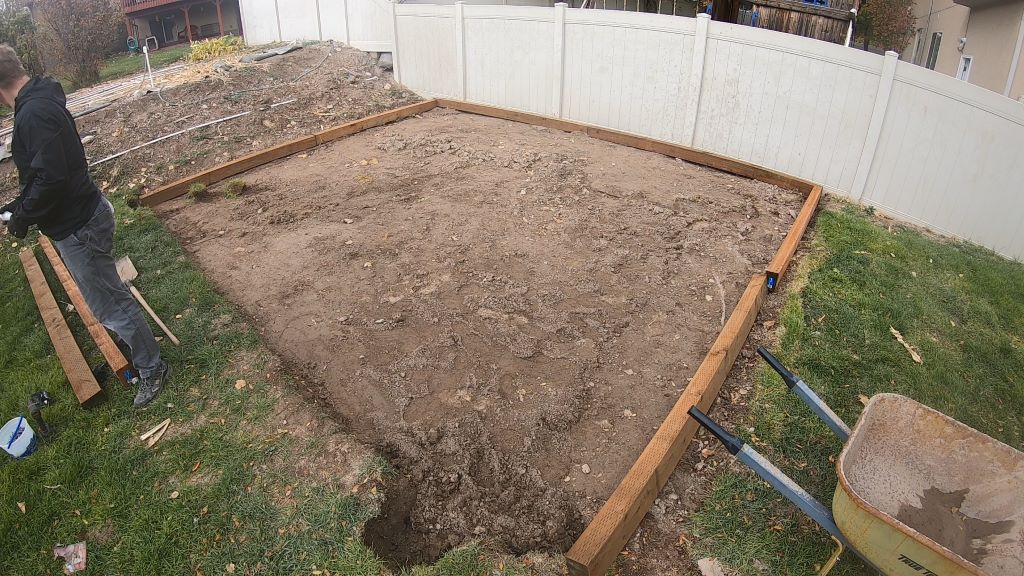
- Dig out the dirt inside the frame to be level with the bottom of the wood beams.
- Lay geotextile fabric on the dirt – before you install gravel. This helps prevent sinking into the dirt — and may prevent some aggressive weeds from coming up too.
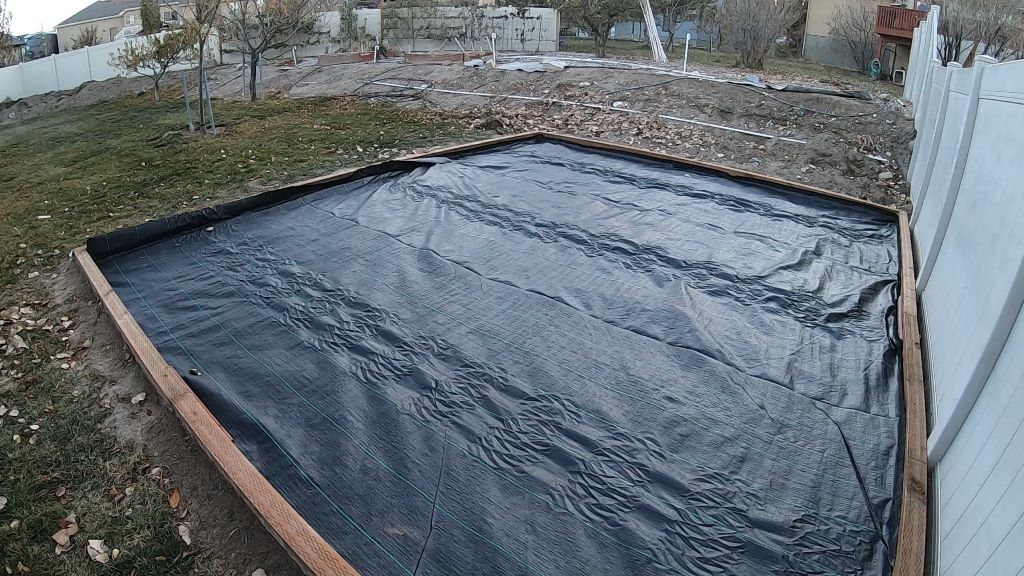
- Spread 3/4” gravel to fill it in. Note: You need “crushed” gravel — not smooth stones so it can better “lock” in place.

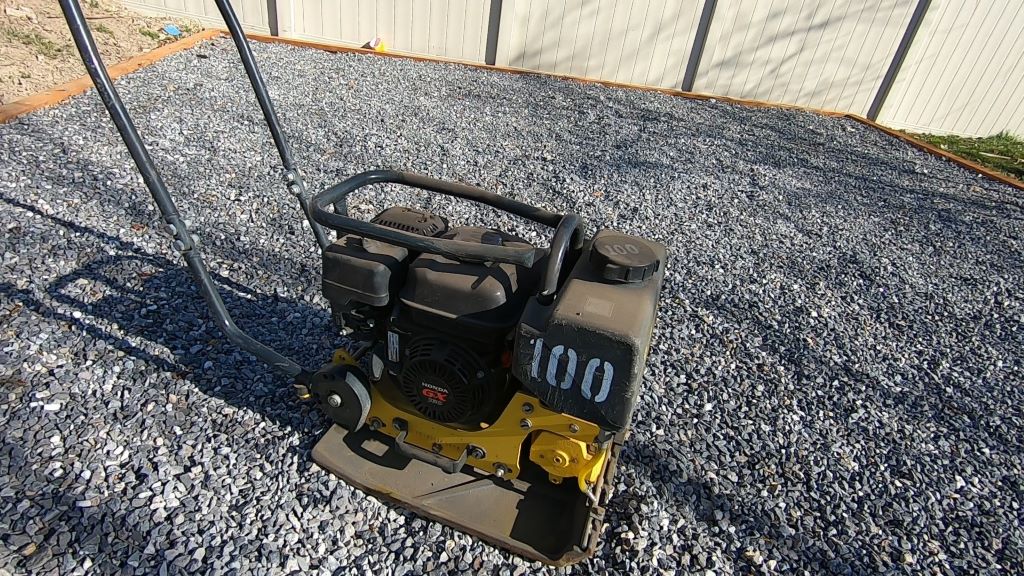
- Compact the gravel. Rent a small-ish walk-behind compactor. This is not a job for the little “Jumping Jack” type of compactors.
Should I use a concrete pad for my shed base?
It’s a great option if you have the means. I won’t really discuss a concrete pad in these plans that are wood-floor focused. Concrete will typically be quite a lot more expensive and it may or may not be feasible to get a cement truck to where you want a shed to be. But there are obvious advantages to the strength and stability of concrete if you can make it work. If you choose a concrete foundation, you’ll just be attaching the wall to the concrete, and you may want to prepare your concrete pad with anchor bolts in place. Be sure to use pressure-treated lumber for any wood that will be in contact with the cement — specifically the bottom “plate” (bottom 2×4) of the walls. If you do concrete, you will also have to adjust the sizes of your siding and trim (or wall height) since the siding and trim are measured in this guide to extend down the height of the flooring & joists.
